Follow Me On Social Media!
Silky Vanilla Marshmallow Frosting.
There is a distinct difference between a standard buttercream and a true marshmallow frosting. While traditional American buttercream is beloved for its sweetness and stability, it can sometimes feel heavy or overly gritty due to the sheer volume of powdered sugar. Marshmallow frosting, on the other hand, is the cloud-like, ethereal cousin of the frosting world. It is incredibly light, glossy, and possesses a unique “pull” that reminds you of the center of a campfire-toasted treat.
This recipe is designed to be the ultimate multitasker in your kitchen. It is sturdy enough to hold its shape when piped onto cupcakes, yet soft enough to be swirled effortlessly over a birthday cake. By incorporating a hint of vanilla and a pinch of salt, we elevate the flavor profile beyond just “sweet,” creating a topping that tastes like a gourmet version of the marshmallow fluff we all loved as kids.
Ingredients
To achieve that signature marshmallow gloss, ensure your butter is softened but not oily. The quality of your vanilla will also shine through here, so use the best you have.
- Unsalted Butter: 1 cup (2 sticks), softened to room temperature.
- Marshmallow Creme: 1 jar (7 oz). This is often sold as “Marshmallow Fluff.”
- Powdered Sugar: 2 cups, sifted. Sifting is non-negotiable if you want a lump-free finish.
- Vanilla Extract: 1 ½ teaspoons. For a speckled look, you can use vanilla bean paste.
- Fine Sea Salt: ¼ teaspoon. This is the secret ingredient that balances the sugar.
- Heavy Cream: 1 to 2 tablespoons (only if needed for consistency).
Instructions
Cream the Butter
In the bowl of a stand mixer fitted with the paddle attachment (or using a large bowl and a hand mixer), beat the softened butter on medium-high speed for about 3 to 5 minutes. You want the butter to transition from a dense yellow to a pale, almost white color. This aeration is what makes the frosting feel light on the palate.
Incorporate the Marshmallow
Add the entire jar of marshmallow creme to the whipped butter. Turn the mixer to medium speed and beat for another 2 minutes. At this stage, the mixture will look incredibly glossy and somewhat sticky. Scrape down the sides and bottom of the bowl with a rubber spatula to ensure no pockets of plain butter remain.
Add the Dry Ingredients
Turn the mixer to the lowest setting. Gradually add the sifted powdered sugar one half-cup at a time. Once the sugar is mostly incorporated, add the vanilla extract and the sea salt.
The Final Whip
Increase the speed to medium-high and whip the frosting for another 2 to 3 minutes. If the frosting feels too stiff, add the heavy cream one teaspoon at a time until it reaches your desired consistency. It should be thick enough to hold a peak but soft enough to spread without tearing the surface of your cake.
Flavor and Texture Notes
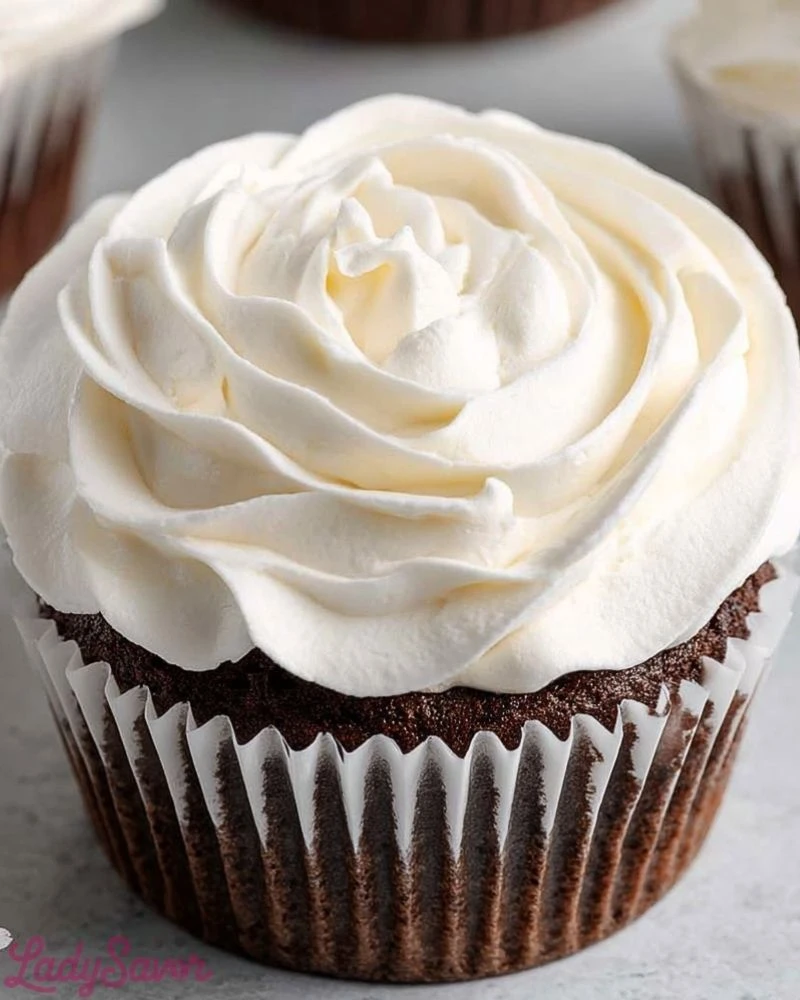
The first thing you will notice is the shine. Unlike matte buttercreams, this frosting has a beautiful, pearlescent luster. The texture is exceptionally smooth—almost like a whipped mousse—but with the signature elastic “stretch” of a marshmallow.
Taste-wise, it is nostalgic. It has that classic, airy sweetness of a marshmallow but is tempered by the richness of the butter and the sharpness of the sea salt. It isn’t as cloying as a store-bought frosting; instead, it feels like a balanced confectionery topping that complements both dark chocolate and light fruit flavors.
Tips and Variations
- The Toasted Version: If you have a kitchen torch, you can actually toast this frosting once it’s on the cake. The high sugar content in the marshmallow creme allows it to caramelize and char just like a real marshmallow.
- Chocolate Marshmallow: Sift in ¼ cup of high-quality cocoa powder along with the powdered sugar for a “hot cocoa” style frosting.
- Coloring the Frosting: Because this frosting is so white, it takes gel food coloring beautifully. Use a toothpick to add a tiny amount of gel to achieve vibrant, clean pastels.
- Avoid Melting: Since this is a butter-based frosting, it will melt in high heat. If you are serving a cake outdoors in the summer, keep it refrigerated until about 30 minutes before serving.
Storage and Make-Ahead
Marshmallow frosting is quite resilient, but it does best when kept cool.
- Room Temperature: You can leave frosted baked goods at room temperature for up to 2 days, provided your kitchen isn’t too warm.
- Refrigeration: Store leftover frosting in an airtight container in the fridge for up to a week. Before using it again, let it come to room temperature and give it a quick whip with a mixer to restore its fluffy texture.
- Freezing: This frosting freezes surprisingly well. Place it in a freezer-safe bag for up to 3 months. Thaw overnight in the refrigerator and re-whip before using.
Serving Suggestions
- S’mores Cupcakes: Pipe this onto graham cracker-flavored cupcakes and top with a piece of Hershey’s chocolate and a dusting of graham cracker crumbs.
- Whoopie Pie Filling: This frosting is the traditional choice for filling chocolate or pumpkin whoopie pies because it stays in place without being too firm.
- Fruit Dip: Leftover frosting makes an incredible dip for fresh strawberries or tart apple slices.
- Hot Cocoa Topper: For a decadent treat, dollop a spoonful of this frosting onto a mug of rich hot chocolate instead of standard marshmallows.
FAQ
Can I use actual marshmallows instead of creme?
It is difficult to substitute melted marshmallows for marshmallow creme in this specific recipe. Melted marshmallows contain gelatin, which causes the frosting to set firmly and become rubbery as it cools. Marshmallow creme is formulated to stay soft and spreadable.
Why is my frosting runny?
If the frosting is too soft, your butter may have been too warm (almost melting) when you started. You can fix this by placing the entire bowl in the fridge for 15 minutes and then whipping it again.
Is this frosting stable enough for a layered cake?
Yes, it is stable enough for a standard two or three-layer cake. However, if you are making a very tall or tiered cake, you might want to pipe a “dam” of stiff vanilla buttercream around the edge of the layers to ensure the marshmallow filling doesn’t bulge out.
How do I get the “toasted” flavor without a torch?
While a torch is best, you can place the frosted cupcakes under a broiler for 30–60 seconds. You must watch them every second, as they will go from toasted to burnt in a heartbeat.
Conclusion
Marshmallow frosting is more than just a topping; it’s an invitation to have a little more fun with your baking. It brings a whimsical, nostalgic energy to any dessert it touches, and its unique texture makes it a favorite for both kids and adults. Whether you’re topping a classic chocolate cake or filling a batch of cookies, this recipe provides a professional-grade finish with a heartwarming flavor.