Follow Me On Social Media!
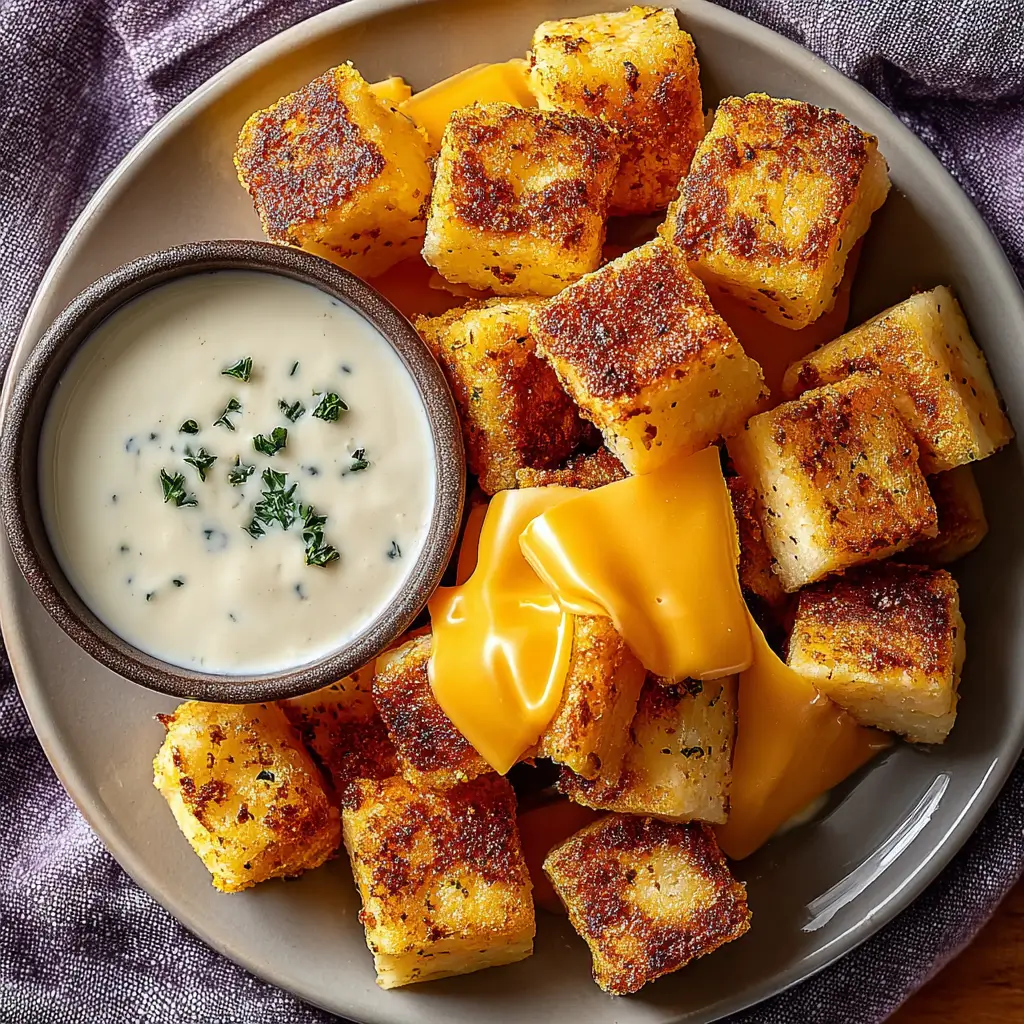
Hawaiian Roll Grilled Cheese
Hawaiian roll grilled cheese transforms soft, slightly sweet slider rolls into a golden, buttery sandwich filled with perfectly melted cheese. The contrast between the caramelized exterior and gooey interior creates a comforting, crowd-pleasing bite. Simple ingredients and quick stovetop cooking make this recipe ideal for both casual meals and shareable snacks.
Why You’ll Love This Recipe
- Sweet and savory balance – Hawaiian rolls add gentle sweetness that complements rich melted cheese.
- Quick stovetop preparation – Ready in about 30 minutes with minimal equipment.
- Perfect for sharing – Slider-style format makes portioning easy for families or gatherings.
- Crispy, buttery texture – Toasted rolls develop a golden crust while staying soft inside.
- Customizable cheese options – Works with cheddar, mozzarella, or flavorful blends.
- Comfort food simplicity – Familiar ingredients create universally appealing flavor.
Ingredients You’ll Need
Bread Base
- 12 Hawaiian rolls (sliders) – Provide soft texture and subtle sweetness that caramelizes when grilled.
Filling
- 8 slices cheese (cheddar, mozzarella, or blend) – Melt into a creamy, stretchy center that binds the sandwich.
Butter & Seasoning
- 4 tablespoons unsalted butter, softened – Promotes even browning and rich flavor.
- 1 teaspoon garlic powder (optional) – Adds savory depth that balances sweetness.
- Salt and pepper to taste – Enhances overall flavor and cheese richness.
Garnish
- Fresh herbs such as basil or parsley – Brighten the finished sandwich with color and freshness.
Step-by-Step Instructions
Slice the rolls as a single sheet – Cut the Hawaiian rolls horizontally while keeping them connected to create one top and one bottom layer for easy assembly.
Butter and layer the cheese – Spread softened butter on the cut sides, place cheese evenly across the bottom layer, and season with garlic powder, salt, and pepper if desired before closing with the top half.
Grill until golden and melted – Cook the assembled sandwich in a large skillet over medium heat for about 3–4 minutes per side, pressing gently with a spatula to ensure even browning and thorough melting.
Rest briefly and serve – Remove from the skillet once crisp and golden, allow a short cooling period for the cheese to set slightly, then garnish with fresh herbs and slice into portions.
Recipe Notes & Tips
- Use medium heat – Prevents burning the sweet rolls before the cheese melts.
- Distribute cheese evenly – Ensures consistent melt and structure when slicing.
- Press gently while grilling – Improves contact with the pan for uniform browning.
- Try mixed cheeses – Combining sharp and mild varieties adds complexity.
- Let rest before cutting – Keeps melted cheese from spilling out.
- Serve immediately for best texture – Crispness fades as the sandwich cools.
Nutritional Information
- Prep Time: 10 minutes
- Cook Time: 20 minutes
- Total Time: 30 minutes
- Servings: About 6 slider portions
- Calories: Approximately 220–300 per serving, depending on cheese type and butter amount.
Perfect Pairings
- Tomato soup – Classic creamy-acidic companion to grilled cheese.
- Roasted meats or deli turkey – Turns the sliders into a fuller meal.
- Fresh green salad – Adds brightness and balance.
- Pickles or pickled vegetables – Provide tangy contrast to richness.
Ideal Occasions
- Family lunches or quick dinners – Fast comfort food everyone enjoys.
- Game-day or party platters – Easy to slice and serve as finger food.
- After-school snacks – Warm, satisfying, and simple to prepare.
- Holiday leftovers pairing – Complements roasted meats or soups.
Storage & Serving Tips
- Refrigerate leftovers in an airtight container – Keeps for up to 2 days.
- Reheat in a skillet or oven – Restores crisp exterior better than microwaving.
- Avoid stacking while warm – Prevents soggy texture from trapped steam.
- Slice just before serving – Maintains structure and presentation.
Creative Variations to Try
- Ham and cheese sliders – Add thin ham slices for a classic sweet-savory combo.
- Spicy jalapeño version – Include sliced jalapeños or pepper jack cheese.
- Garlic herb butter spread – Mix herbs directly into the butter before grilling.
- Caprese-style filling – Use mozzarella, tomato slices, and basil.
Troubleshooting Common Issues
- Rolls browning too quickly – Lower heat and extend cooking time slightly.
- Cheese not fully melted – Cover skillet briefly to trap heat and speed melting.
- Soggy bottom layer – Use moderate butter and avoid overcrowding the pan.
- Uneven crisping – Press gently and flip carefully for uniform contact.
Why This Recipe Works
Hawaiian rolls contain enriched dough and sugar that caramelize quickly when exposed to butter and moderate heat, producing a golden, flavorful crust. Even heat from skillet grilling allows cheese proteins and fats to melt smoothly into a cohesive filling while the bread toasts without drying out. The balance of sweetness, salt, and fat creates strong sensory appeal and satisfying richness, though portion size keeps overall calories within a moderate comfort-food range.
Final Thoughts
Hawaiian roll grilled cheese offers a simple yet indulgent twist on a beloved classic, combining buttery crispness, melty cheese, and subtle sweetness in every bite. Its quick preparation and flexible variations make it perfect for everyday meals or casual entertaining. With mindful portions or lighter cheese choices, this comforting recipe can remain both enjoyable and reasonably balanced.