
Follow Me On Social Media!
Chocolate Biscuit Refrigerator Cake: A No-Bake Delight.
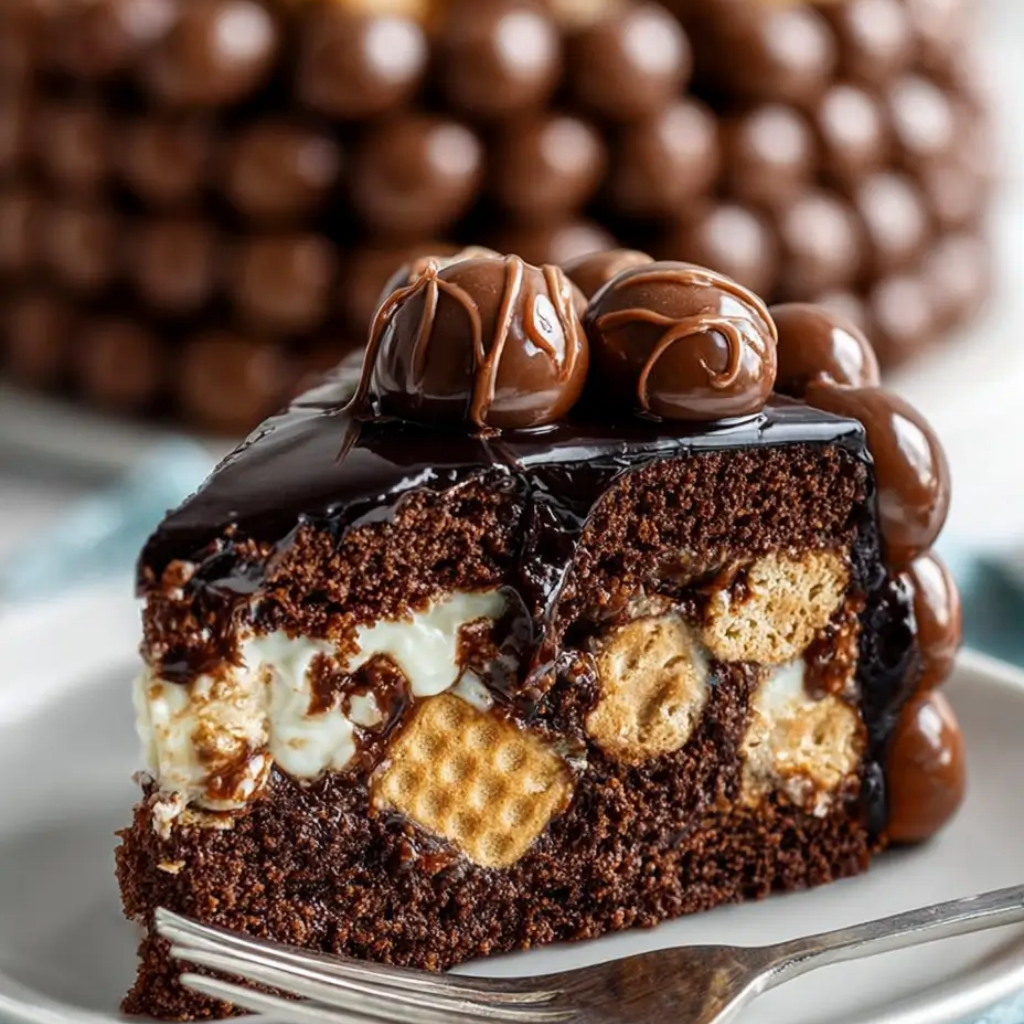
The Chocolate Biscuit Refrigerator Cake—often known as “Hedgehog Slice” or “Lazy Cake”—is a timeless, no-bake masterpiece.1 This dessert relies on a dense, fudgy chocolate matrix filled with shattered pieces of crunchy biscuits.2Because there is no flour or leavening involved, the result is an incredibly rich, truffle-like bar that is perfect for tea time or a decadent snack.
The key to a superior refrigerator cake is the quality of the chocolate and the structural integrity of the biscuits; they should be firm enough to provide a distinct “snap” against the soft chocolate.
Ingredients
- Dark Chocolate (50-70% cacao): 300g, chopped.3
- Unsalted Butter: 150g.
- Golden Syrup or Honey: 3 tablespoons (for shine and chew).
- Digestive Biscuits or Graham Crackers: 250g.
- Mini Marshmallows: 50g (optional, for a rocky road texture).
- Glacé Cherries or Raisins: 50g (optional).
- Walnuts or Hazelnuts: 50g, roughly chopped.
- Pinch of Sea Salt.
Instructions
Step 1: Prep the Pan
Line a 20cm (8-inch) square baking tin with parchment paper, leaving an overhang on the sides so you can easily lift the cake out once it has set.
Step 2: Smash the Biscuits
Place the biscuits in a large freezer bag and bash them with a rolling pin. You want a mix of fine crumbs and chunky, bite-sized pieces. Having varying sizes ensures the cake holds together while still providing a satisfying crunch.
Step 3: Melt the Base
In a large heat-proof bowl set over a pot of simmering water (bain-marie), combine the chopped chocolate, butter, and golden syrup. Stir occasionally until the mixture is glossy and completely smooth. Remove from the heat and let it sit for 5 minutes.
Step 4: Mix the Ingredients
Fold the crushed biscuits, nuts, and any optional dried fruit into the melted chocolate. Ensure every piece is thoroughly coated in the chocolate mixture. If using marshmallows, wait until the chocolate has cooled slightly before adding them so they don’t melt completely.
Step 5: Press and Set
Pour the mixture into the prepared tin. Use the back of a spoon to press it down firmly into the corners, smoothing the top.
Step 6: The Chill
Refrigerate the cake for at least 4 hours, though overnight is ideal. This time allows the butter and chocolate to solidify into a firm, sliceable block.
Step 7: Slice and Serve
Lift the cake out of the tin using the parchment paper. Use a sharp knife dipped in hot water to cut into 16 squares.
Flavor and Texture Notes
This cake is an intense chocolate experience. The texture is multi-layered: you get the velvety smoothness of the chocolate ganache followed by the buttery crunch of the biscuits. The golden syrup adds a slight “pull” to the bite, making it feel more like a confection than a standard cake.
Tips for Success
- The Biscuit Choice: Use a plain, semi-sweet biscuit like Digestives, Rich Tea, or Graham Crackers. Avoid cookies that are too soft or crumbly, as they will disappear into the chocolate.
- Add a Topping: For a professional finish, melt an extra 100g of milk chocolate and pour it over the top of the pressed mixture before chilling to create a smooth, dual-toned layer.
- Salt Balance: A small pinch of sea salt in the chocolate mixture is essential—it cuts through the richness of the butter and syrup, heightening the cocoa notes.
FAQ
| Question | Answer |
| Can I use milk chocolate? | Yes, but it will be much softer and sweeter. You may need to reduce the syrup by half to compensate. |
| How do I store it? | Keep it in an airtight container in the fridge for up to 2 weeks. It also freezes beautifully for up to 3 months. |
| Can I make it vegan? | Absolutely. Use a high-quality vegan dark chocolate, plant-based butter, and ensure your biscuits are dairy-free. |
Conclusion
The Chocolate Biscuit Refrigerator Cake is the ultimate “minimum effort, maximum reward” dessert. Its rugged, rustic appearance belies a sophisticated flavor that appeals to both children and adults alike.